How To Run Next.js application with Docker: Step By Step Guide

Docker is a popular containerization platform that allows developers to package applications and their dependencies into standardized units, providing consistency across different environments. By containerizing our Next.js application, we can ensure portability, scalability, and ease of deployment.
Next.js, known for its robust features in crafting React applications, provides developers with an excellent framework for crafting dynamic and engaging web experiences.
Step By Step Guide To Run Next.js Application With Docker
Step 1: Setting Up a Next.js Project with Page Router
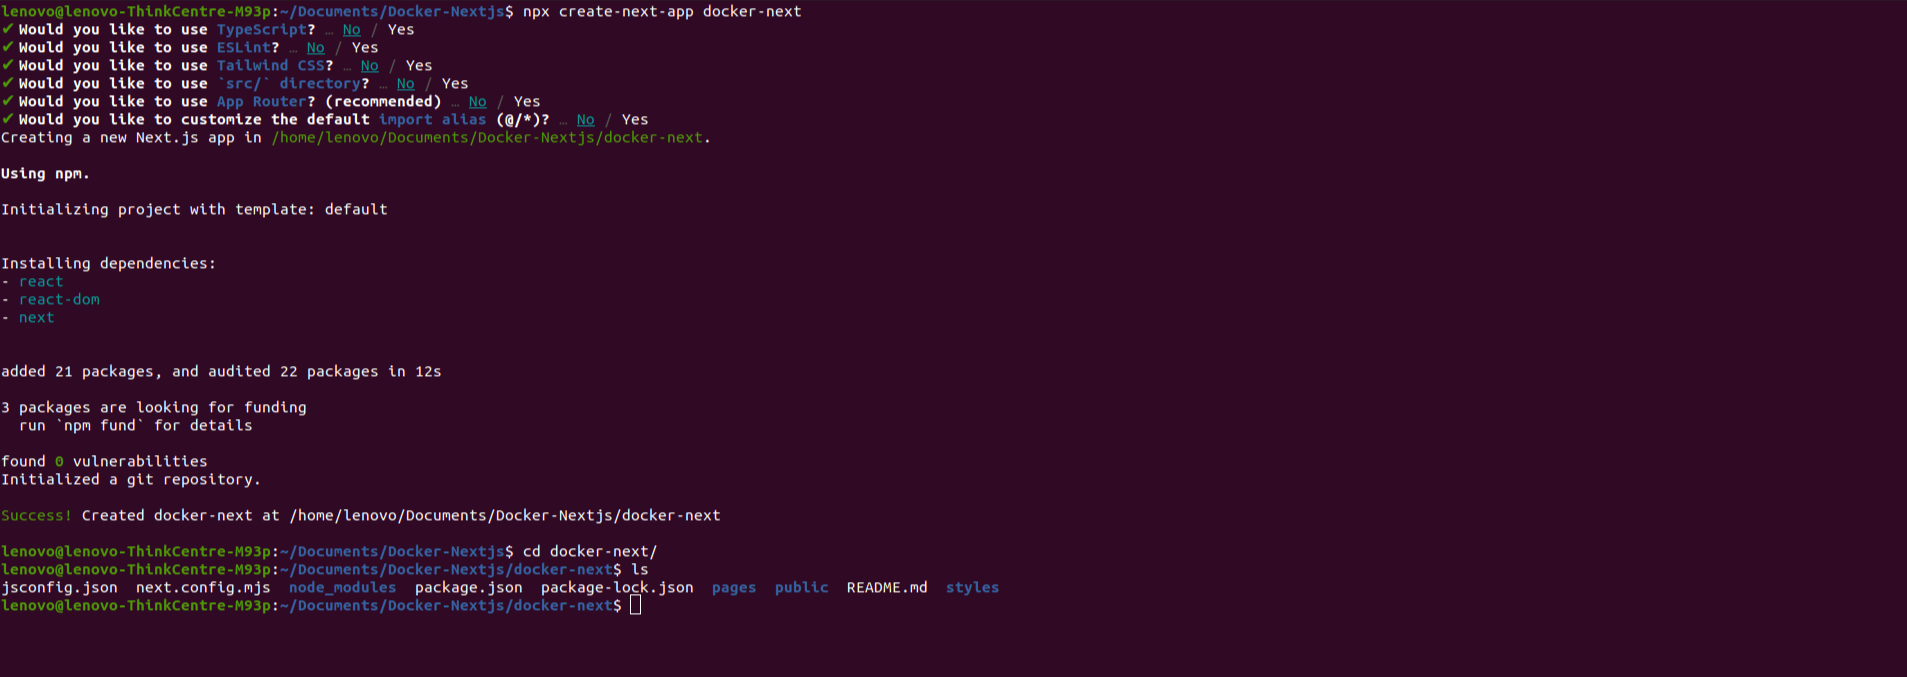
Before using Docker, let’s set up a Next.js project. If you haven’t already installed Node.js and npm, make sure to do so before proceeding. Then, open your terminal and run the following commands:
- npx create-next-app docker-next
- cd docker-next
Step 2: Running Your Next.js Application
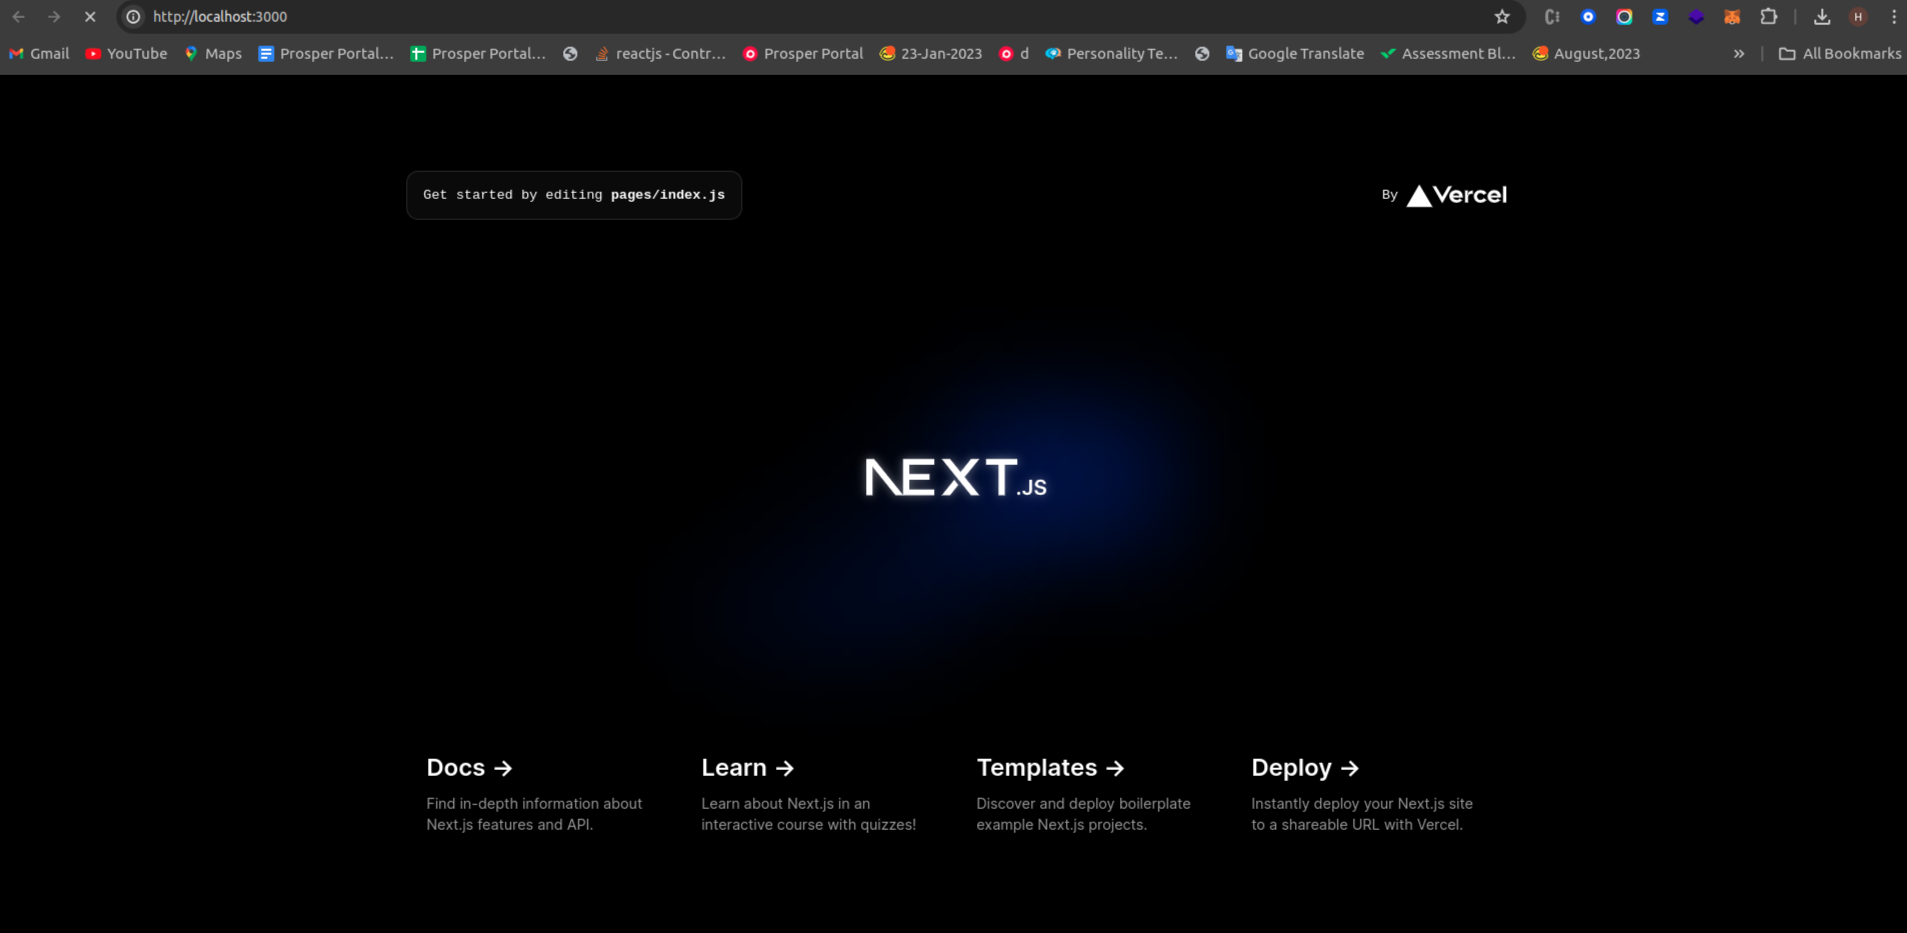
Once you’ve added Docker to your Next.js application, it’s time to see them in action. In your terminal, navigate to your project directory and run the following command:
npm run dev
This command will start your Next.js development server. Open your web browser and navigate to http://localhost:3000 to view your Next.js application like below:
Step 3: Installing Docker
Make sure you have Docker installed on the Desktop
For Ubuntu use this ref:https://www.digitalocean.com/community/tutorials/how-to-install-and-use-docker-on-ubuntu-20-04
Step 4: Create a Dockerfile in our project directory
A Dockerfile is a text document that contains instructions for building a Docker image. We’ll create a Dockerfile tailored for our Next.js application, configuring it to install dependencies, copy the application code, and specify the command to start the application.

# Use an official Node.js image as the base image
FROM node:20
# Set the working directory in the container
WORKDIR /usr/src/app
# Copy package.json and package-lock.json to the container
COPY package*.json ./
# Copy the rest of the application code to the container
COPY . .
# Install dependencies
RUN npm install
# Build the Next.js app
RUN npm run build
# Expose the port that your Next.js app will run on
EXPOSE 3000
# Start the Next.js app
CMD [“npm”, “start”]
Step 5: Create a docker-compose.yml file in our project directory
It helps define what services your application needs, like databases or web servers, and how they should be configured, making it easier to manage and deploy your application across different environments. It simplifies collaboration and ensures consistency in your application’s setup.
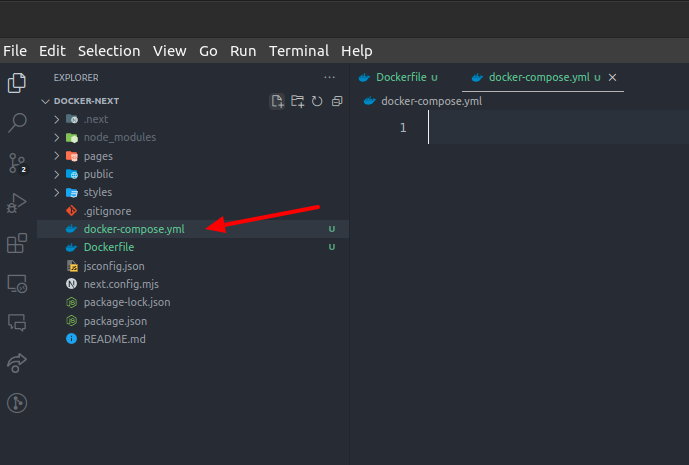
docker-compose.yml
version: ‘3.8’
services:
# Next.js app
web:
image: node:20
working_dir: /app
volumes:
– .:/app
ports:
– “1313:3000”
environment:
– NODE_ENV=development
command: >
bash -c “npm install && npm run dev”
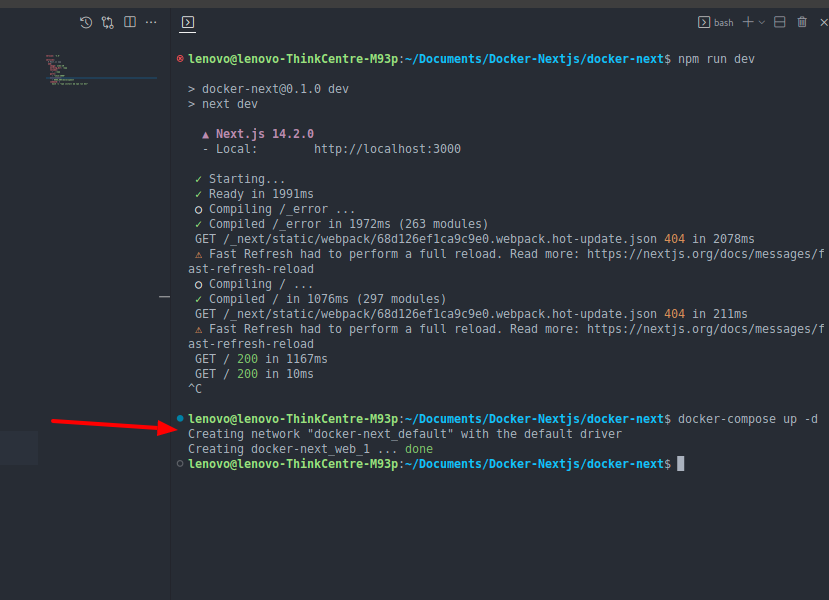
Step 6: Command for running the Docker container
- docker-compose up -d
Step 7: Open Docker Container
Open Docker and look for the container that matches the name of your application. When you find it, you’ll see a folder inside the container that mirrors the structure of your local project directory.

Let’s Wrap It Up!
Docker serves as a versatile containerization platform, empowering developers to encapsulate applications and their dependencies into portable units. By containerizing our Next.js application, we ensure consistency across diverse environments, bolstering portability, scalability, and deployment efficiency.
LN Webworks expert team is ready to tailor solutions that meet your every need. Reach out to us now for project excellence and discover how we can help you with your web development projects.