Installing Deepseek Locally: A Step-by-Step Guide

In this post, we’ll walk through the process of installing DeepSeek on your local machine using Ollama and Docker. DeepSeek provides powerful search capabilities powered by deep learning, and this guide will help you set it up quickly with a dedicated frontend UI.
Prerequisites
Before you begin, ensure you have the following installed on your machine:
- Ollama: Visit [Ollama’s official website](https://ollama.com/) and follow the installation instructions.
- Docker and Docker Compose: These tools are required to run the frontend UI container. Download and install Docker from the [official Docker website](https://www.docker.com/).
Steps to Install DeepSeek Locally
Step 1: Install Ollama
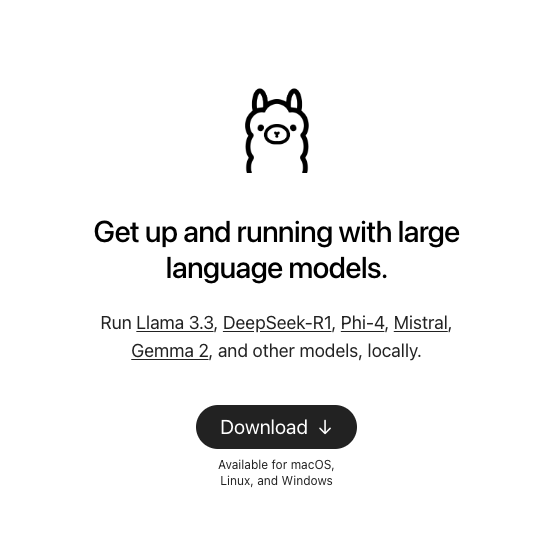
Ollama is the platform from which you can run DeepSeek. To get started:
1. Download and install Ollama:
Navigate to [ollama.com](https://ollama.com/) and follow the installation instructions for your operating system.
2. Verify the installation:
Open your terminal or command prompt and run:
```bash
 ollama --version

 ```
This command should display the installed version of Ollama, confirming the installation was successful.
Step 2: Run the DeepSeek Server
Once Ollama is installed, you can start the DeepSeek server:
1. Launch the DeepSeek server:
Open your terminal and run the following command:
```bash

 ollama run deepseek-r1:1.5b

 ```
This command starts DeepSeek as a background server using the specified version (`deepseek-r1:1.5b`). You should see output confirming that the server has been initiated.
Step 3: Set Up the Frontend UI with Docker
To interact with DeepSeek through a user-friendly interface, you’ll set up a Docker container running a frontend UI.
1. Create a directory for the UI:
Navigate to your project folder and create a new directory called `web-ui`.
```bash

 mkdir web-ui && cd web-ui

 ```
2. Create the Docker Compose file:
In the `web-ui` directory, create a file named `docker-compose.yml` with the following contents:
“`yaml
version: ‘3.8’
services:
open-webui:
image: ghcr.io/open-webui/open-webui:latest
container_name: open-webui
restart: unless-stopped
ports:
– “3001:8080”
environment:
– TZ=UTC
volumes:
– open-webui-data:/app/data
volumes:
open-webui-data:
“`
This configuration tells Docker Compose to:
– Pull the latest `open-webui` image.
– Map port `8080` inside the container to port `3001` on your host.
– Restart the container unless it is stopped manually.
– Use a persistent volume (`open-webui-data`) to store UI data.
3. Deploy the container:
Run the following command from within the `web-ui` directory to start the UI container in detached mode:
```bash

 docker compose up -d

 ```
Depending on your CPU and system performance, the container may take up to one minute to fully start.
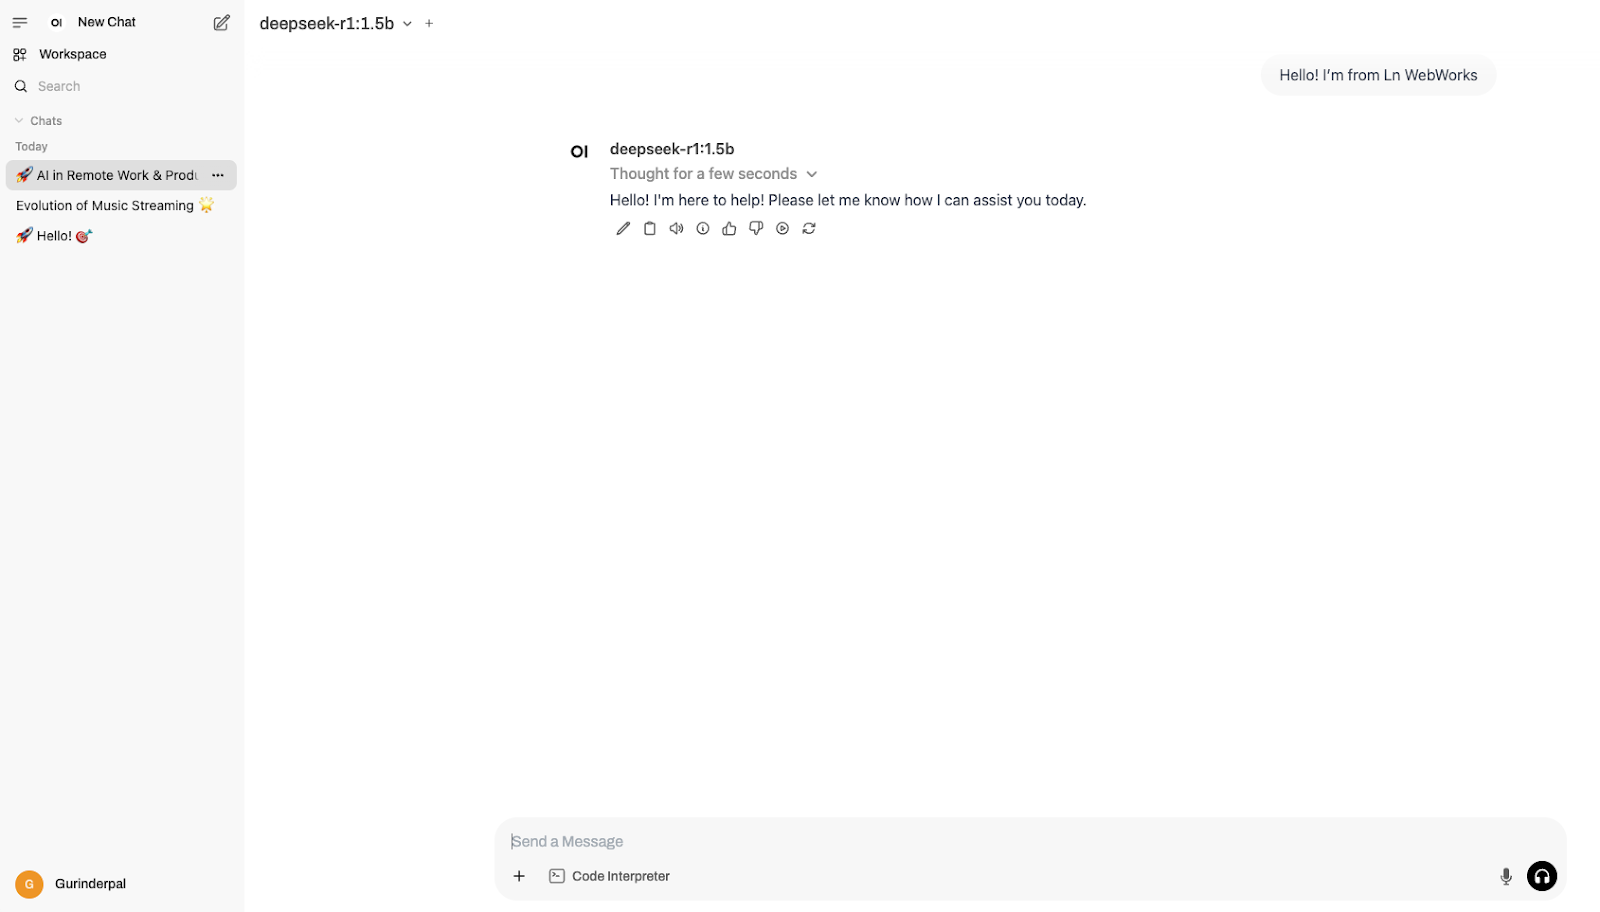
Step 4: Accessing DeepSeek Locally
Once the server and UI container are running:
1. Wait for initialization:
Allow about a minute for the Docker container to initialize completely.
2. Open the frontend:
Open your web browser and navigate to:
```

 http://localhost:3001

 ```
You should now see the DeepSeek interface, allowing you to interact with the search functionalities powered by the DeepSeek server.
Conclusion
By following these steps, you have successfully installed DeepSeek locally using Ollama and Docker. This setup not only provides a robust backend powered by deep learning but also a clean and accessible frontend UI to interact with it. Enjoy exploring and leveraging DeepSeek’s capabilities in your local environment!
If you’re looking to take AI integration further, LN Webworks can help you seamlessly incorporate artificial intelligence into your website. Whether it’s enhancing user experience, automating workflows, or building intelligent web applications, our expertise in custom web development ensures cutting-edge solutions tailored to your needs. Contact us to explore the possibilities of AI-driven innovation!