
Do you wish to take your eCommerce business to the next level? Creating a marketplace on Shopify can be an excellent way to grow your business.
Shopify's Multi Vendor Marketplace is the ultimate tool for converting your website into a fully functional marketplace.
It takes a lot of effort to streamline all the moving parts of your eCommerce business, but if done the right way, it can help you earn some great rewards. Shopify marketplace is a business model where users can create an eCommerce platform and let numerous sellers list and sell products on their platform.
Whether you're selling physical products, digital downloads, or services, Shopify can be altered to meet your specific requirements.
In this blog, we will discuss what a multi-vendor marketplace is, factors to consider before choosing a multi-vendor platform, and how to create a marketplace on Shopify.
What is a Multi-Vendor Ecommerce Marketplace?
A multi-vendor eCommerce marketplace is like a bustling digital bazaar where multiple sellers showcase their products under one virtual roof. It allows different vendors to list and sell their products or services to customers through a single, unified storefront.
Multi-vendor marketplaces act as a linking pin between buyers and numerous individual sellers.
Sellers make money by listing their items on the marketplace, whereas the marketplace platform earns by charging a fee for every successful sale.
Reasons why buyers prefer multi-vendor marketplace are-
- Competitive prices due to seller competition
- Easy comparison of products and sellers
- Convenience of one-stop shopping
Reasons why sellers prefer multi-vendor marketplace are-
- Provide instant access to a large customer base
- Reduce the need for individual e-commerce infrastructure
- Offer valuable insights and analytics
Key Considerations When Choosing a Multi-Vendor Ecommerce Platform
Here are a few things that one should consider while choosing a multi-vendor eCommerce platform-
1. Scalability
Imagine planting a seed in a small pot; it would need more space as it grows. The same is the case with a multi-vendor platform; it should be able to accommodate your business's growth.
Therefore, you should see its ability to handle increasing traffic and transactions and easily add new vendors and products. Other elements that you should check for scalability include shipping support, inventory management, and the onboarding process.
2. User-friendly interface
You must choose a user-friendly multi-vendor marketplace that makes it easy to set up and manage your eCommerce platform without requiring any technical knowledge.
When choosing these platforms, ensure they integrate seamlessly with your existing system, have a simple order processing system, and simplify the vendor registration process.
3. Customization
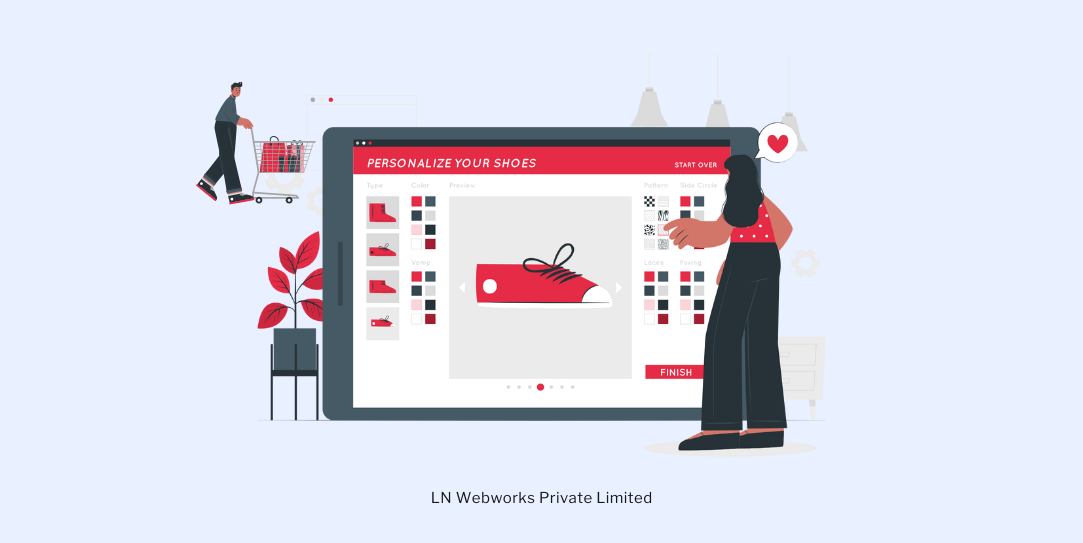
The multi-vendor platform you select should be as unique as your business idea. Therefore, it should allow you to add your personal touch, from branding to functionality.
These platforms should allow you to customize themes and layouts, add unique features, and offer API access for advanced customization.
4. Payment options
From credit cards to cryptocurrencies, the more payment options you offer, the wider your customer net will be. Go for a platform that supports multiple gateways and currencies.
Before finalizing the multi-vendor marketplace, check whether it can automatically collect fees and how quickly your vendors will receive payments after customers purchase items.
5. Security
In the digital world, data is gold; thus, this is an essential aspect of high security. Make sure that the platform offers top-notch security to protect your business and customers' data. Thus, check whether it has SSL certification and PCI DSS compliance and offers regular security updates.
How to Create a Marketplace on Shopify?
Let's walk through the process of setting up a marketplace on Shopify-
Step 1- Choose the right Shopify plan
The first thing you need to do is choose the right Shopify plan based on your requirements and budget. Numerous plans are available, but the recommended plans are Shopify Advanced or Shopify Plus. These higher-tier plans offer more features and customization options, crucial for managing a multi-vendor platform.
Step 2- Set up your Shopify store
The next important step is setting up your store. If you do not have an account, go to the Shopify website and create one.
For this, you will have to provide some basic information about your business. After that, you must follow the prompts to set up your store. It will ask for your store name, so you need to add products and configure your store settings.
You can also choose a temporary theme, personalize the design, and give it your brand touch.
Pro tip: Opt for a flexible theme that effectively showcases various product types and services.
Step 3- Select and install a Marketplace app
Shopify's app store can be your best friend here. By downloading the Multi Vendor Marketplace from the Shopify app store you can enable multi-vendor functionality on your Shopify store.
To do this, you must first go to your Shopify dashboard, click on the left sidebar, search for "Apps," and click "Visit Shopify app store."
It will open the app store page. From here, you will find numerous options; select the one that suits your requirements. Choose the app and then click the "Add app" button.
Step 4- Configure marketplace settings
Once you install the app, configure its settings for the best outcome.
Navigate to the general settings and choose the following options-
- Marketplace name
- Logo
- Contact information
- Customizing the app store appearance as per your brand
Now, you need to complete the seller registration process. Here, you need to mention the process for sellers to register on your platform. State the required information and the steps they need to follow for approval (if any).
Next are the commission settings. Mention your commission structure; it can be fixed, variable, or a combination of both.
Step 5- Set up vendor onboarding
Create seamless onboarding for your vendors. Onboarding is the process of bringing new sellers onto a marketplace, and getting them to sell their products or services.
To do this, you will have to enable seller onboarding, which comprises-
- Creating a seller registration page- On this page, the seller will provide you the essential information, such as business name, info, tax identification number, contact details, etc
- Seller Profiles- This page enables sellers to create an account. Here, they can choose their username, password, and profile information, such as logo, contact details, etc.
Pro tip: Consider creating a welcome video for new vendors. It's a great way to make them feel part of your community!
Step 6- Product Management
Efficient product management is crucial for a smooth-running marketplace:
- Set up categories and tags for easy navigation
- Inventory management to prevent overstocking or stockouts
- Implement a product approval system to maintain quality
- Use search functionality and filtering options so it becomes easier for customers to find the required products
- Encourage vendors to use high-quality images and detailed descriptions
Step 7- Payment Processing
When setting up a multi-vendor marketplace, the payment aspect can't be overlooked. This step involves ensuring the secure and efficient handling of transactions between buyers and sellers. You need to set up payment gateways and provide multiple payment options to expand your customer base by making it easier for people from different countries to process payments.
Also, the commission collection system should be configured so that it is deducted automatically. Furthermore, if there are numerous international transactions, provide a currency conversion option as well. Remember to ensure compliance with financial regulations.
Step 8- Shipping and order tracking
Smooth shipping operations are vital for customer satisfaction. You can ensure this by:
- Setting up multiple shipping options considering various factors, such as shipping zone, shipping rates, while ensuring integration with reliable shipping carriers.
- Providing real-time tracking information to customers.
- Assigning buyers a unique order delivery number so they can easily track their order.
Always consider offering a centralized shipping option for vendors as it enhances the overall shopping experience.
Step 9- Customer support and dispute resolution
Happy customers are repeat customers, so it is important to resolve their disputes quickly. For this, you can provide them with contact information and other support resources. You can also establish guidelines for dispute resolution between customers and vendors, mentioning the timings, communication channel, resolution process, etc.
Step 10- Marketing and promotion
Build it, and they will come? Not quite. You need to get the word out by using:
- Social media marketing, email campaigns, and paid advertising
- Use loyalty programs such as discounts, deals, etc.
- Consider running targeted ads to attract both customers and vendors
Pro tip: Create a referral program for both customers and vendors. It's a great way to grow your marketplace organically!
Step 11- Analytics and Optimization
Keep your finger on the pulse of your marketplace:
- Use Shopify's built-in analytics to track key metrics and make adjustments accordingly
- Regularly review vendor performance
- Continuously gather feedback from both vendors and customers
The Bottom Line
Building a multi-vendor eCommerce marketplace with Shopify is an exciting journey. It is a big advantage for sellers as it gives them access to global reach, a built-in audience, and, most importantly, Shopify's powerful tools.
The major benefits of setting up a marketplace with Shopify are that it is cheaper than custom code, has a low total cost of ownership, and offers tools and features to help with marketing and SEO. This makes it easier to attract new customers and increase your marketplace's visibility.
If you are still unsure, you can always partner with a professional eCommerce development company, such as LN Web Works. It can help you build your website with the future in mind, ensuring your platform can handle increased traffic, transactions, and functionalities as you scale.
So, why not join hands with an ecommerce development company and make it your rocket fuel!
Author Information

Dhruv Rana
Drupal & Automation expertI specialize in Drupal development and automation, streamlining workflows with custom modules, theme development, and AI-driven solutions.
Get In Touch With Certified eCommerce Experts!
Related Articles

Artificial Intelligence
